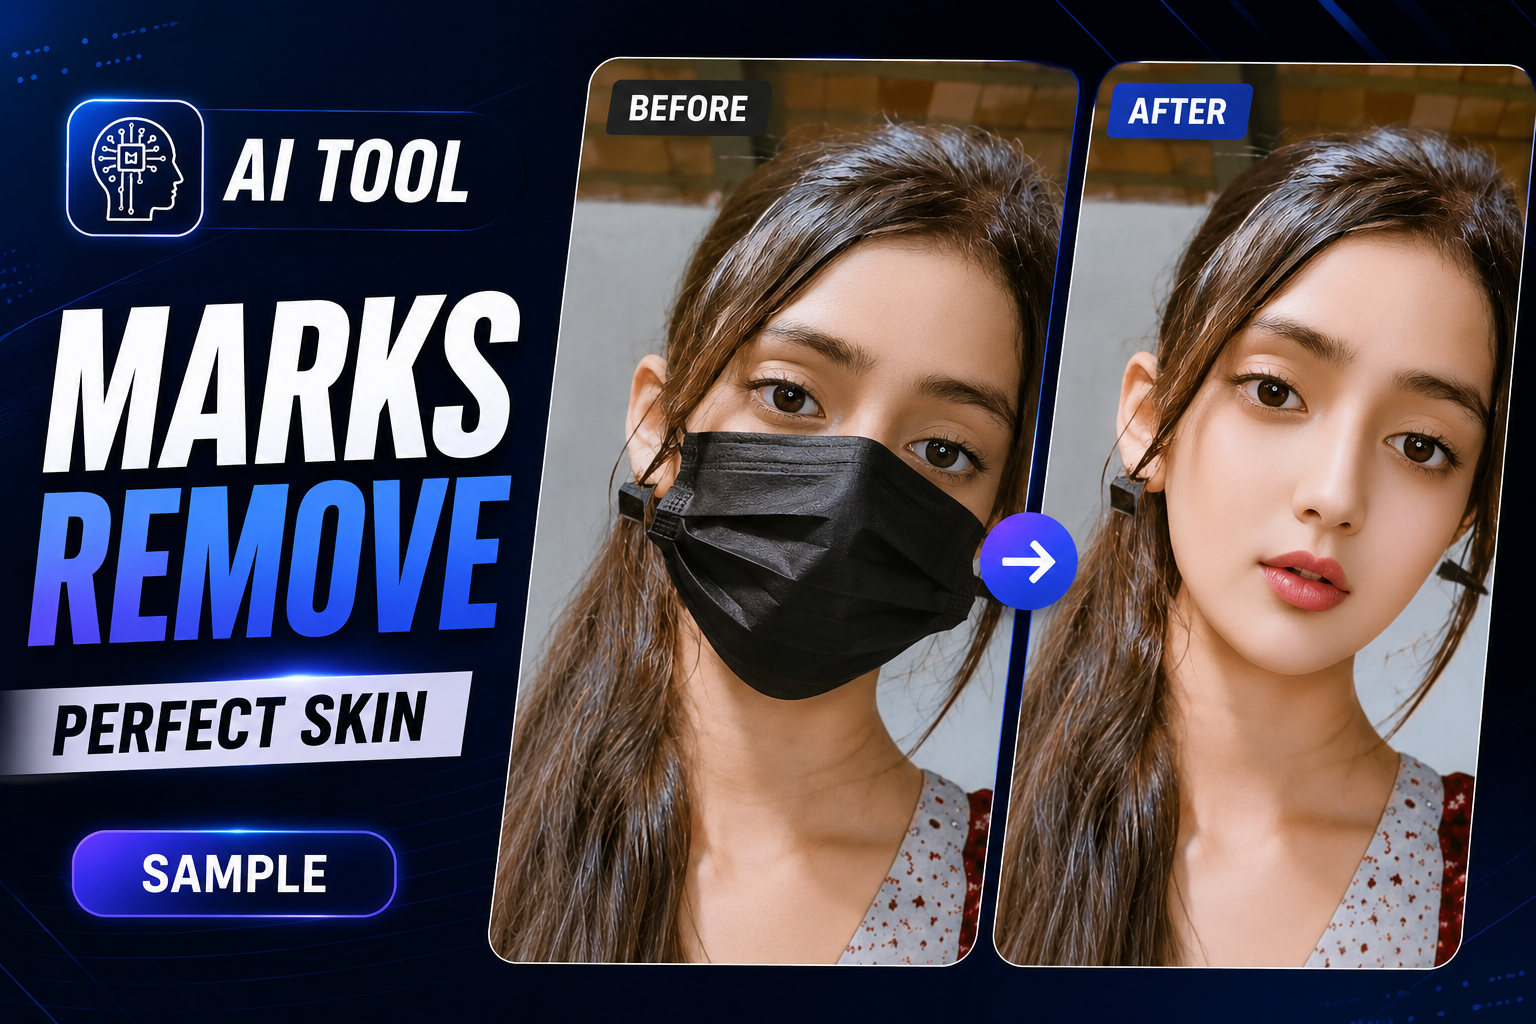
Mask Remove Photo Editing Turn Your Photos into Professional Works of Art:
In today’s world, where pictures tell stories and visuals are everywhere, a regular photo might not be enough to catch attention anymore.Whether you’re someone who wants to build a social media presence, run a small business, or just really enjoy taking pictures, being able to take.
A simple photo from your phone and turn it into something amazing is a great skill.That’s where PicsArt comes in.PicsArt is a powerful photo editing app that gives you tools you’d normally find in more advanced programs.If you’ve ever felt that desktop photo editors are too complicated.
But you still want to get great results, then PicsArt is the perfect choice.In this guide, we’re going to explore PicsArt step by step.We’ll go beyond the basic filters and show you how to use more advanced techniques, make creative composites, and create edits that will make your photos really stand out.
1.Getting Started Navigating the PicsArt Interface:
When you first open PicsArt, you might feel like there’s so much to do, so many tools to look at, and so many options available.
It’s a lot to take in.But once you get used to the layout, you’ll find that the app is actually designed to make your creative process smooth and easy to follow.
Right in the center of the home screen, you’ll see a sign.That’s your main way to start creating.Just tap it and you can choose a photo from your phone, pick a background, or use a photo from the community called “Free to Edit Once you’ve picked a photo, you enter the main editing screen.
Here are some key things to keep in mind as you edit At the bottom of the screen, you’ll find a toolbar.This is where all the important editing functions are.Tap Tools for resizing, rotating, or changing the perspective.Effects is where you apply artistic filters.Retouch is for fixing portrait photos.
And Stickers helps you add extra fun and personality to your image.At the top of the screen, you’ll find Undo and Redo buttons.These are super useful if you’re trying different edits.You’ll also find a Apply button there which lets you save your changes as you move from one editing step to another.
On the top right, there is a layer icon.
This is especially useful if you’re working on a complex project.It lets you add multiple images, text, and graphics, and you can adjust their transparency, blending, and order.You don’t need to get good at everything instantly.
Start by exploring the Tools section since you’ll probably use that more.As your skills improve, you’ll learn how to use the other tools, and they’ll become your secret weapons for transforming your photos into amazing works of art.
2.Understanding the Basics Cropping, Resizing, and Rotating:
Before getting into complex editing, it’s important to understand the basics.
Cropping, resizing, and rotating are the foundation for creating a well-structured image.If these aren’t right, even the best creative effects won’t save your image.Cropping helps tell a better story.
It’s not just about removing unwanted parts from the background.It’s about framing your subject in a way that guides the viewer’s eye where you want it to go.You can use the “Rule of Thirds” for balance or zoom in tightly to capture a powerful emotion.With careful cropping, you can turn an ordinary photo into a professional-looking one.
Resizing is crucial, especially when you’re sharing your photos online.A high-quality image looks great on your phone but can slow down your website if it’s too big.On the other hand, if it’s too small, it can look pixelated on social media.Learning to resize properly ensures your images stay sharp and clear wherever they’re shown.
Rotating or straightening your image is essential for a professional look.Even a slightly tilted horizon can make a landscape look off.Using PicsArt’s rotation tools means you can fine-tune the image to look perfectly aligned.This final touch takes your photo from an average.
Snap to something that looks like it belongs in an art gallery.These basic skills might seem simple, but they play a big role in elevating your photos.Take the time to get them right before moving on to more advanced editing steps.
3.Mastering the Brush Tools for Creative Retouching:
Once you’re past basic filters, the Brush tool becomes your main creative power.Think of it like a digital paintbrush that you can use to add texture, highlights, or artistic flair exactly where you want in the photo.Whether you’re trying to add a soft glow to someone’s face or create a dramatic painterly effect across.
Click Here
The whole image, learning to use the Brushtool gives you full creative control.A key part of professional retouching is layering and adjusting the opacity.Instead of applying a strong effect all at once, experiment with a low-opacity brush to gradually build the color or light.
This is great for adding a natural golden hour feel to portraits or softening shadows without losing the image’s depth.Don’t hesitate to try out the different brush types available in PicsArt.From soft-edge brushes that help smooth out texture to artistic brushes that create sparkle or bokeh.
Each type has a specific purpose.By zooming in and taking your time with each stroke, you can change a basic photo into a polished masterpiece.Remember, in retouching, less is often more—use the brush to enhance the natural qualities of your photo and not hide them entirely.
4.Using Layers for Non-Destructive Editing:
If you’ve ever made a mistake when editing like accidentally blurring a face you wanted to sharpen or applying a filter that messed up your favorite lighting you should know about layers.In PicsArt, layers are a must-have.They let you build your image step by step without changing the original.
Think of layers like you’re looking at multiple transparent sheets stacked on top of each other.You can put a photo on the bottom, add text on another layer, and apply a sticker or brush effect on top.Since each part is on its own sheet you can move, size.
change the opacity, or remove any part without affecting the others.To get started, look for the Layers icon (two stacked squares) in the top menu.When you add a new layer, it’s a separate workspace that doesn’t change your original photo.That’s the power of non-destructive editing: you can hide or delete.
A layer if it doesn’t match the look of your image instead of going through multiple undos or starting over.Learning to work with layers will change how you think about editing.It’s the key to experimenting, adding textures, or trying different blending modes like Overlay or Multiply to make.
professional-looking composites.Once you start editing with layers, you’ll never look at a simple flat image the same way again.It’s the difference between a quick snapshot and a carefully designed work of art.
5.Elevating Your Photos with Professional Filters and Effects:
When you’re going for a professional look, it’s easy to get carried away by all the filters.
The real strength of PicsArt isn’t how many filters you can apply, but how you use them thoughtfully.Instead of just applying a generic filter and calling it a day, think about how these tools can set the mood and tell a better story.
Start by looking at the FX library, and don’t stop at the default settings.A way to get a polished effect is to tap the filter button again to adjust the Fade or Blend sliders.By reducing the intensity, you can still get the color balance you want without making the photo look too processed.
Now, explore the Effects menu for more texture options like Film Grain or Light Leaks. These add a more natural, organic feel that makes digital photos appear more like real ones.When working on portraits, use the Blur tools to create a soft, professional look that brings attention to your subject.
Don’t forget, professional photography isn’t about changing the image completely.
It’s about refining the lighting, correcting the colors, and perfecting the tiny details.By mastering subtle changes in PicsArt, you can turn a standard photo into a high-quality, unique piece of visual art that feels like it’s truly yours.